Introduction
In this tutorial we will build our first IMA.js web application - a simple guest book which will list the posts left by other visitors and allow us to write new posts.
Your first IMA.js application
Through the course of this tutorial, we will work with git, gulp, ES2015 (ES6), Less CSS, React and optionally Typescript. Feel free to familiarize yourself with any of these tools upfront if you are not already. Don't worry though, we'll take things slow and assume no prior knowledge of these tools in this tutorial.
We do, however, assume that you are familiar with JavaScript (ECMAScript 2015), the MVC pattern, and the Single-page application architecture (SPA). Knowledge of an SPA framework such as Angular or Ember is recommended, but not necessary.
We also assume that you have Node.js with NPM (the current version is recommended) and a Git client installed on your computer.
Setup
First we need to bootstrap our new IMA.js application. Thanks to create-ima-app
npm package, available since IMA.js v17, this process is fairly simple.
To initialize new project, run following command and choose the "Empty" (Hello World) template:
- npm
- Yarn
- pnpm
- Bun
npx create-ima-app imajs-tutorial
yarn dlx create-ima-app imajs-tutorial
pnpm dlx create-ima-app imajs-tutorial
bun x create-ima-app imajs-tutorial
For TypeScript support run the initializing command with following parameters:
- npm
- Yarn
- pnpm
- Bun
npx create-ima-app imajs-tutorial --typescript
yarn dlx create-ima-app imajs-tutorial --typescript
pnpm dlx create-ima-app imajs-tutorial --typescript
bun x create-ima-app imajs-tutorial --typescript
This will bootstrap the IMA.js directory structure and install all dependencies. To
learn more information about create-ima-app package, take a look at its github repository.
To finish our setup, we will start a development server that will allow us to see our application in action. To do that, cd into the imajs-tutorial directory and run following command:
- npm
- Yarn
- pnpm
- Bun
npm run dev
yarn dev
pnpm run dev
bun run dev
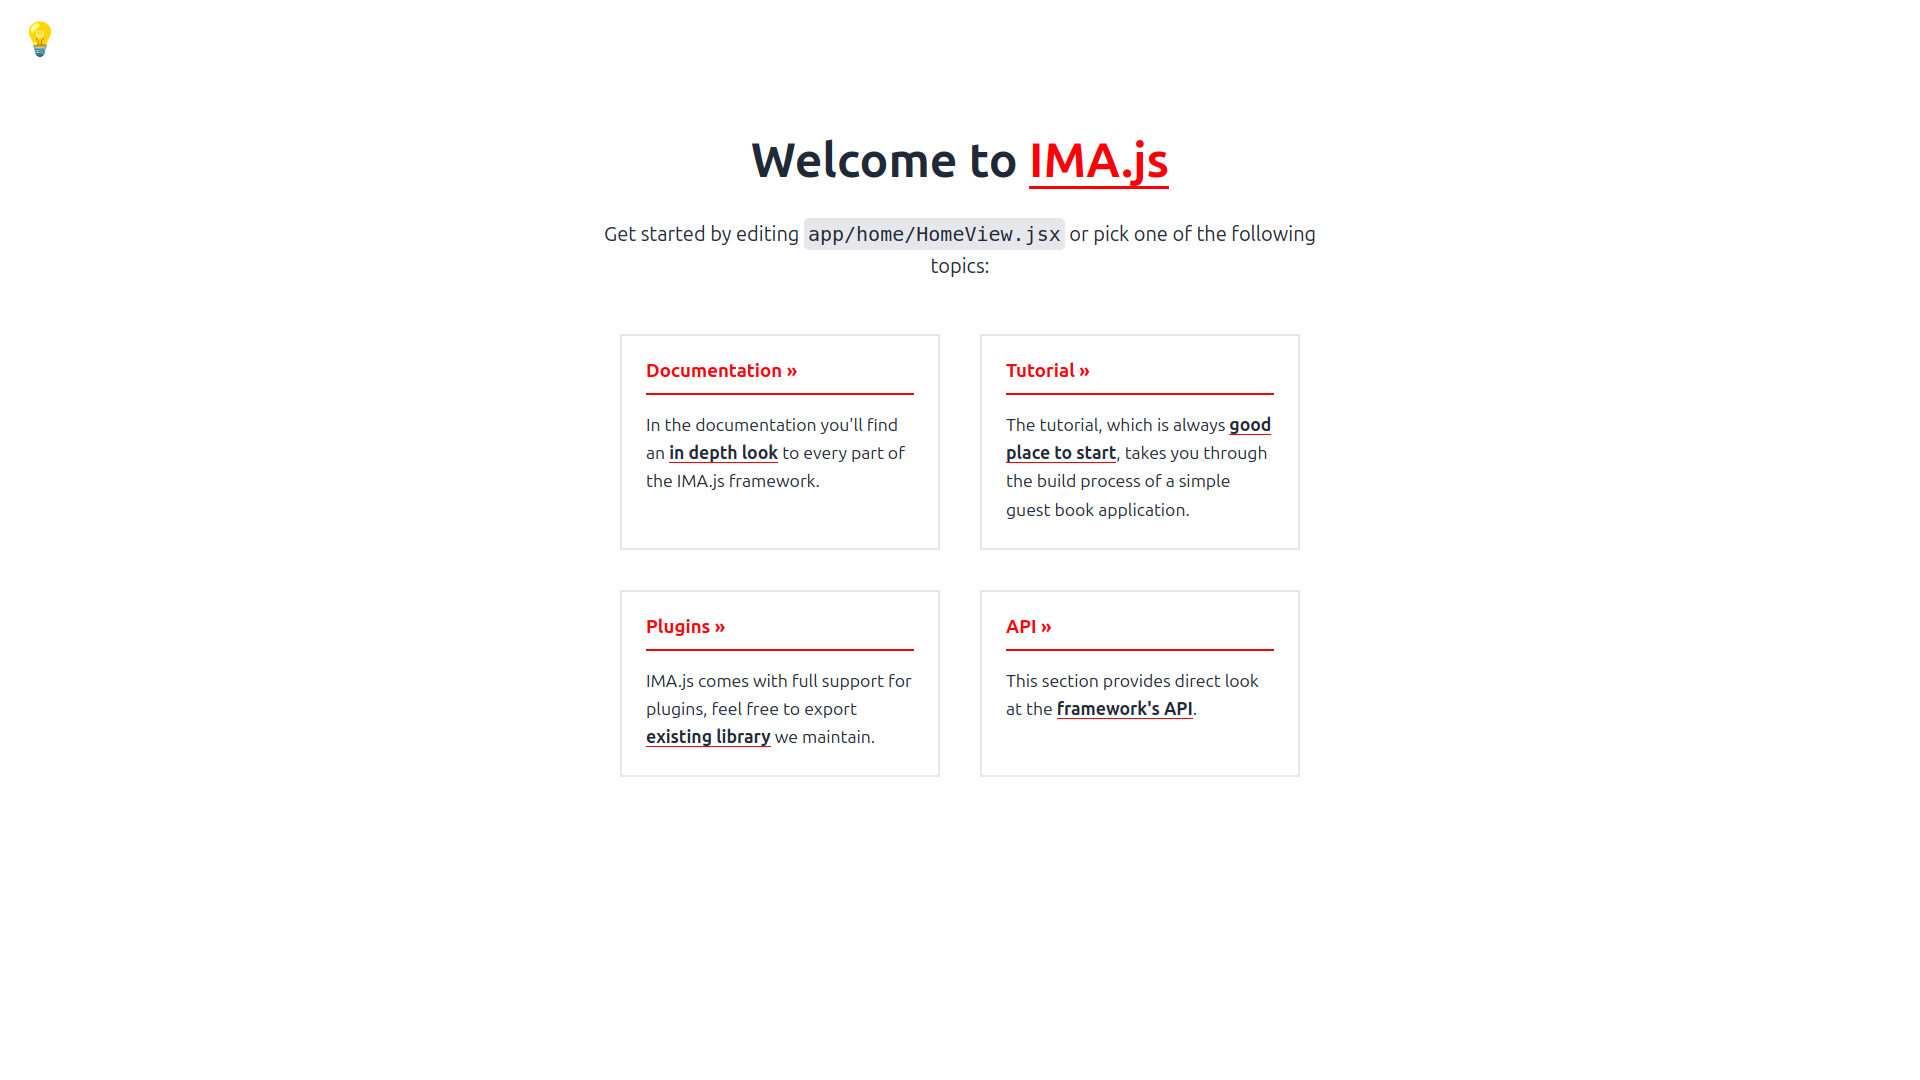
As you can already see from the command line, if everything went well, you can view the basic "hello world"
application by opening http://localhost:3001/ in your browser.
Dev server
By running npm run dev you start your application in development mode with a dev server.
The dev server will keep running in the background, watching for any changes made to the project files and reload the app, allowing us the see the result in the browser without having to restart the application.
If you'll happen to not see the changes you've made through this tutorial in
your browser, check whether the dev server did not crash or freeze (or didn't
pick up some new files). Should that happen, you can kill the server by
pressing Ctrl+C and restart it by running npm run dev. If you see an
error after you restarted the dev server, check your source code. The error
should hint what to look for and where to find the source of the trouble.
Additionally, if you want to, you may install the React DevTools (Chrome, Firefox) to inspect your view in the browser dev tools.
ENOSPC error
Finally, you may encounter the ENOSPC error when working with a large project
using a *nix OS. This can be fixed using the following code snippet ran from a
terminal
(source of the snippet here):
echo fs.inotify.max_user_watches=524288 | sudo tee -a /etc/sysctl.conf && sudo sysctl -p
Directories and files in your application
All files that are specific to our application are located in the app,
directory. The package.json file provides the npm tool with information
about the dependencies of our application.
You may have also noticed the doc, build and server directories (some of these folders may not be visible until they are generated in the first call of npm run dev or npm run build).
- The
docdirectory contains the documentation for IMA.js APIs and our application rendered to HTML. - The
servercontains the application logic of the HTTP server serving our application. - Finally, the
builddirectory is used as an output directory for the built application and its resources.
For more information see the Application Structure section in the documentation.